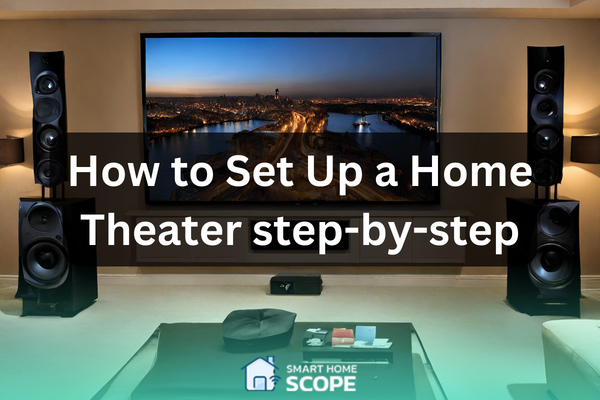
Thanks to the latest advancements in technology, we can easily set up a home theater in the comfort of our home. You can sit on your cozy couch, set the lights as you like, and immerse yourself in the greatest visual experience possible. In this article I will share my experience and guide your through each step so you know how to hook up your home theater. At the end of this article, you will know how to orchestrate various devices that help you set up your desired home theater.
Set Up Home Theater: The Main Steps
Here are the steps you need to take for hooking up your home theater:
- Understand the main components
- Choose the right equipment
- Set up the Display
- Set Up the Audio
- Connect your Media Players and Devices
- Set Up the AV Receiver
I will walk you through each step, so don’t worry! If you already have your devices ready and only need to set them up, feel free to skip the “Main Components” and “Choosing the right Equipment’ sections. If this isn’t the case for you, I insist you not to skip these parts.
Set up Home Theater system: What are the main components?
Hooking up a home theater isn’t just about connecting a TV to a soundbar. Various devices come together to create a captivating audio-visual experience. Here are the main components that are vital in a home theater setup.
The Display Device
The display device is the major part of any Home Theater system. When it comes to display, there is a choice between TV and projector. Your decision must be based on your personal preference, your room size and condition, along with the budget you are willing to spend, which is always the case. I have experienced both TV and projector and will tell you which one is best in different conditions.
Audio System
The audio system brings life to your setup. Going with the right audio devices, whether it’s a good subwoofer or satellite speakers, will help you dive deep into the universe of the program displaying on the screen. Spending many hours trying to work with these devices, I can guide you on how to make the right choice depending on your place.
Media Players and Streaming Devices
These devices will bring content to the home theater. It doesn’t matter if they’re a Blu-ray player for your physical media collection or a popular streaming device such as Roku, Apple TV, Amazon Fire TV, or Chromecast for Netflix lovers; these devices are a must.
AV Receiver (I set up my home theater considering this one the heart!)
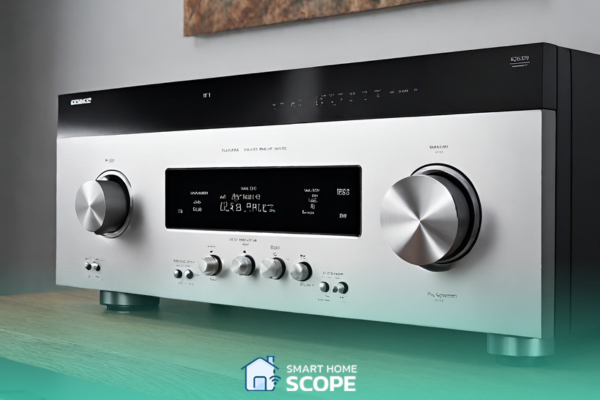
AV Receivers are synonymous with the heart of your Home Theater system. They handle grabbing audio and video signals from your input devices and sending them to speakers and display equipment. Audio signals are amplified by the AV Receiver, and the video signal is processed as well. Considering this, you need to choose an AV Receiver that performs these roles in the most efficient way.
Additional Accessories
Utilizing additional accessories such as smart remote controls, smart lighting, and seating can elevate the quality of your audio-visual experience. Smart lighting can help you set the mood of the displaying content. Using a smart remote, you’ll be able to control various devices in your setup. I am going to provide you with some innovative solutions that can enhance your home theater experience.
Planning Your Home Theater Setup
Before you try to hook up your home theater, it’s necessary to take your time and prepare the right room.
Room Size and Shape
Ideal Dimensions
Rectangle-shaped rooms are perfect, especially the ones where the length is 1.5 times the width. This ratio is helpful because it reduces audio distortions along with standing waves. I advise you to avoid square rooms since they can lead to strange harmonic distortions. Sometimes, the room we have chosen is square-shaped, and there’s nothing we can do. If this is the case for you, I suggest utilizing acoustic enhancements; this might solve the problem.
Room Treatment
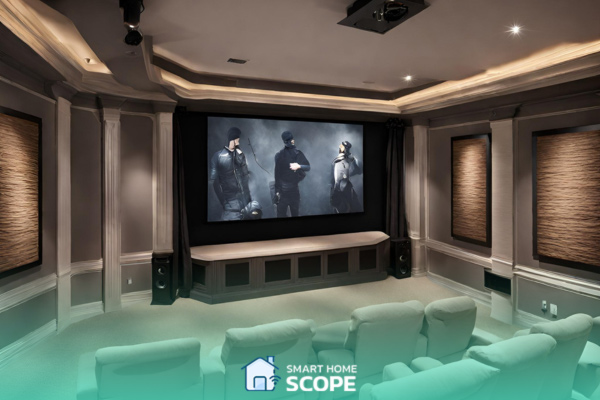
The materials you use in your room can significantly affect your experience. Carpets, curtains, and other soft materials like these are always a better choice than hard surfaces because hard materials can’t absorb sound as well as the soft ones. You must use acoustic panels for rooms without soft materials; this can elevate the audio experience.
In the poetic process of setting up a home theater, acoustic panels are the unsung heroes, subtly refining the audio landscape. They absorb errant sound waves, reducing echoes and enhancing sound clarity, thereby transforming the space into an auditorium of auditory delight.
Utilizing and integrating acoustic panels is a delicate yet crucial touch which ensures that every little detail such as notes and dialogues are delivered to your ears in the cleanest way.
Seating Arrangement and Comfort
Viewing Distance
Finding the suitable distance from the screen needs some simple math. Consider the screen diagonal; for 1080p TVs, the distance between the viewer and the screen must be 1.5 to 2.5 times the screen diagonal. If you have a 4K TV, you are able to sit closer; 1 to 1.5 times the screen diagonal is fair enough. For example, for a 50-inch 1080p TV, the right distance is between 75 to 125 inches.
Seating Height
Pay careful attention to the seating height; you don’t want to hurt your neck by sitting too low or too high from the screen. To achieve this, consider the center of your screen; it should be at eye level when seated.
Seating Layout
There might be multiple rows in your home theater. If you plan to do this, make sure to arrange a staggered structure for your seats. In addition, you can make the seating experience more pleasant by using reclining seats. Don’t forget to consider enough space for legs.
Lightning and Acoustics
Lightning
It’s better to control the brightness level of the room using dimmable lights. Another thing to note is that you shouldn’t place lights directly in the line of sight since this leads to increasing glare.
Acoustic Materials
Your home theater must be equipped with acoustic materials to reduce sound reflections and absorb unnecessary bass. To achieve this, place bass traps in the corners of your room and use acoustic panels on your walls.
Audio System Choices
I call the audio system the soul of any home theater because it helps us dive deep into the story.
Soundbars
Are you a fan of minimal design? Then soundbars are a perfect choice for you. I suggest you find a suitable soundbar along with a subwoofer to get better bass.
Surround Sound Systems
Some people prefer surround sound systems. You can choose between a 5.1 system (5 speakers and 1 subwoofer) or a 7.1 setup. Going with either of these models depends on your room size and personal preference. You can utilize a Dolby Atmos setup to create a three-dimensional audio experience.
Choosing the Right equipment
Selecting the Perfect Display
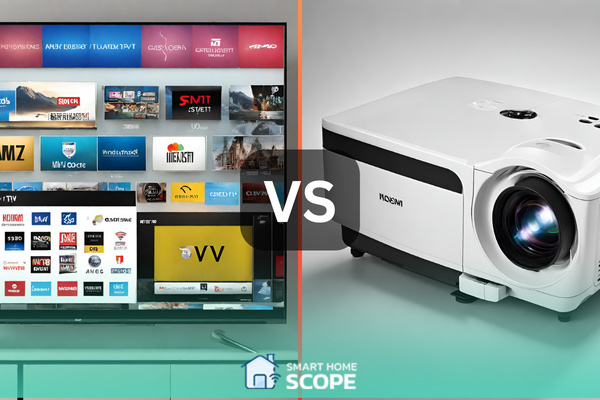
Are you willing to dive deep into a mesmerizing visual experience? Then you must pay careful attention to your display device!
TV vs. Projector
Room Brightness and Screen Size are two factors you need to consider when deciding between a TV and a Projector.
In the case of room brightness, if the room’s architecture is designed in a way that it gets a lot of ambient light, you should definitely go with a high brightness and anti-glare TV. On the other hand, if the room is dark, going with a projector can be a logical choice too, especially for people who want to enjoy a more cinematic experience. You should also pay attention to the screen size; it isn’t right to go with a projector unless you have a 100-inch screen, along with a long-enough room to provide the necessary distance for throw.
Although the classic projectors aren’t suitable for small rooms, the new Ultra Short Throw (UST) projectors are the new generation of projectors that can solve this issue; these new devices will definitely become more popular in 2024, here are the interesting facts about UST projectors:
Ultra Short Throw (UST) Projectors are outperforming for small and tight rooms since they can project large images from short distances (ranging from just a few inches to a few feet away from the screen or wall). This feature, along with their ability to provide a 4K resolution and reduce shadow and glare, make these devices a revolutionary technology for modern home theaters in my opinion.
Although UST projectors are great they may not be that cost-effective, but there is a creative solution to get the benefits of UST projector without having to break the bank! For more information I suggest you read our projector on mirror guide.
Understanding 4K and beyond
Always choose a 4K display, since the pictures are more detailed and you’ll have a more immersive experience. 8K displays are even better because they future-proof your setup.
How to Hook Up Your Home Theater?
It’s time to talk about what we are here for; I’m going to guide you through a step-by-step process of placing and connecting your home theater setup.
How to Set Up the Display in your home theater
TV Mounting
The best choice for placing your TV is to mount it on the wall; you must mount it at eye level; eye level is the best viewing angle unless you want to hurt your neck. If you want to set up the TV on a stand, again note that the height of the stand must be at eye level; this is the most important point.
Projector Setup
Projectors need to be set up on a ceiling mount. The trick is to align the projector with the center of the screen. A projector mount is necessary to maintain stability, also don’t forget to adjust the lens to achieve a clear and undistorted image.
How to Install and Set Up the Audio System in Home Theater?
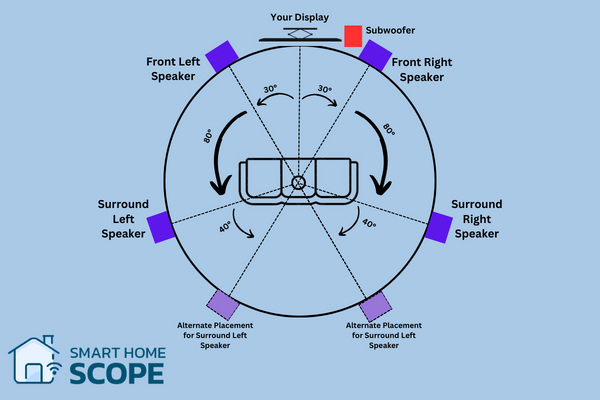
Front Left and Right speakers
These two speakers must be positioned at ear height when seated. If I want to be specific, I would say that they should be around 30 degrees to the left and right of your viewing position. They should be placed at equal distances from both the screen and the main seating area to get a balanced soundstage.
Center Channel Speaker
To get the best performance from the center channel speaker, you must place it at ear level and exactly below or above your TV. This might create a conflict since it interferes with the TV’s height, which should be at eye level. However, you can adjust the TV’s height slightly higher or lower than the exact eye level to make space for the central speaker.
Rear Speakers
If you have a 5.1 setup, you must place them just behind the listening position and to the sides. For a 7.1 setup, two more speakers need to be added behind the listener.
Subwoofer
There isn’t a single best position for placing the subwoofer; you can put it almost anywhere, but usually, the corners are a better choice since they amplify the bass.
There’s a technique called “the subwoofer crawl” in which you place the subwoofer in your main seat and move it around the room until you find a spot in which the bass sounds perfect; when you find that place, that’s the best location to put the subwoofer.
However, if you tend to professionally set up your subwoofer, I suggest you read our subwoofer setup guide.
Soundbar
Some people just want to enhance their audio experience without having to deal with the complexities of a surround sound speaker system, soundbars are the best option for these people. I have completely explained how you can set up and connect a soundbar to your TV, but here are some brief instructions:
Soundbar placement depends on whether you have mounted your TV or used a TV stand. For the wall-mounted TV, you need to place the soundbar beneath the TV; for the TV stand scenario, place the soundbar on the stand. Make sure that the soundbar is centered with the TV so you can get the most balanced sound field.
Connecting Media Players and Devices
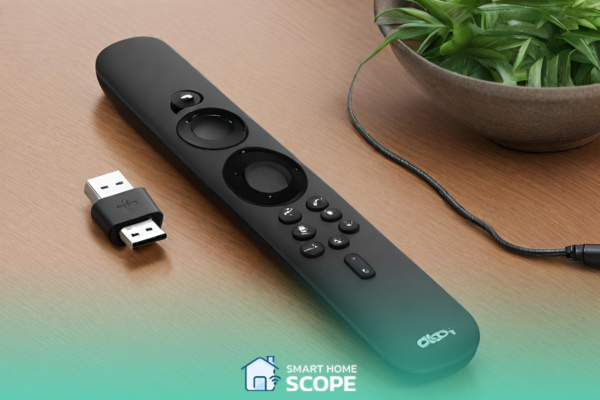
Blu-ray players, streaming devices, game consoles, and other media players and devices need to be connected to your AV Receiver. The AV Receiver is the central hub for every audio and video need you have. You can connect your media players and devices using high-quality HDMI or optical audio cables to get the best audio-visual performance.
Calibration for Optimal Sound
Video Calibration
Video calibration means adjusting the display’s settings like brightness, contrast, and color; you can achieve this using the built-in test patterns or calibration disks.
Audio Fine-Tuning
After you’ve gone through automatic calibration, you can listen to various types of content and change the speaker levels manually to achieve the best personal preference.
Setting Up the AV Receiver in Your Home Theater
As mentioned earlier, the AV Receiver is the heart of your home theater setup; audio and video components are synced by this device. This means that you need to be careful in setting it up, because one minor error in this process could lead to a problem in the whole system. Here’s the step-by-step process of setting up your AV Receiver:
Choose the Right AV Receiver
Power and Channels
Remember to go with an AV Receiver that has enough power output required for your speakers. Consider your speaker setup (5.1 or 7.1) and decide on a receiver with a reasonable number of channels for your setup.
Connectivity
In terms of connectivity, you must make sure that the receiver you buy has enough HDMI inputs for all your devices. Other than that, ensure that your device is up to date and supports the latest technologies such as HDMI 2.1; this means it’s compatible with 4K and 8K resolution.
Placement of the AV Receiver
Ventilation
AV Receivers are very good at generating heat! As you know, heat isn’t good for electronic devices at all; so, you need to be careful and place this device in well-ventilated areas with suitable airflow.
Accessibility
Place the device somewhere that makes connecting and disconnecting components easy. Although the accessibility of the AV Receiver is important, it shouldn’t be the main attraction of your setup.
Connecting Your Components
HDMI Connections
Input devices such as Blu-ray players, streaming devices, etc., and your display device, whether it’s a projector or a TV, need to be connected to the AV Receiver through an HDMI cable; make sure to use high-quality cables! I suggest you utilize a surge protector for your devices too, since it can protect your setup. Don’t forget to leverage cable management solutions to keep your setup organized and clean.
Speaker Wires
The speakers need to be connected to the proper terminals. Make sure that the polarity (+ and -) is matched on both speakers and the receiver.
Configuring the AV Receiver
Input Assignment
In the receiver’s menu, you can assign each HDMI input to its corresponding device. I suggest you do this since it helps you control and switch among various devices easily.
Audio Calibration
If you’ve bought a new modern receiver, you can see that it comes with an auto-calibration microphone. Put this microphone at your primary listening position; after that, you can start the calibration process and reach the most optimized audio settings for your room.
Fine-Tuning for Optimal Sound
Speaker Levels
Tweaking the speaker levels manually helps you find the condition that suits your preference; do this after the auto-calibration process.
Surround Sound Formats
Test various surround sound formats on your receiver, such as Dolby Atmos and DTS:X, to figure out the best format for different types of content.
Set Up Home Theater: Advanced Tips and Tricks
Advanced Audio Calibration
Room Acoustics Analysis
- Acoustics Measurements You can determine and measure the acoustics of your room using a sound level meter or a calibration microphone; by doing this, you’ll gain insight into dead spots or echo issues
- Room Correction Software: You can find room correction software on many modern receivers. These come into play to automatically change settings based on the acoustics of your room, counteracting problems such as uneven sound distribution.
Bass Management
- Crossover Frequency: By setting the crossover frequency, you’ll make sure that directing sounds to your subwoofer happens in the most appropriate way. Setting it around 80 HZ is a proper point to start, but you can adjust this considering the capabilities of your speakers.
- Phase Adjustment: If there’s a phase control option available on your subwoofer, you can use it to align the bass timing with the main speakers; this elevates sound cohesion overall.
Customizing Lightning and Ambiance
Ambient Lightning
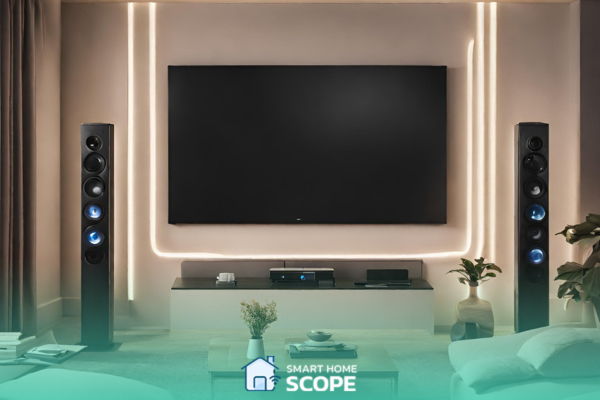
- Dimmable Lights: Place soft and dimmable LED strips behind the screen to build a comfortable glow.
- Warm Tones: Warmer light tones are a better choice because they create a more relaxing mood.
- Smart Control: Use smart lighting, as they provide enhanced ease of use and adjusting them is easy.
In the dance of setting up a home theater, smart home integration acts as the conductor, smoothly intertwining different devices into a symphony of synchronized technology. Integrating your home theater devices through smart technology can transform complicated setups into a harmonious, user-friendly experience, which instills sophistication and accuracy into the heart of home theater entertainment.
Conclusion
In this article, I tried to provide you with a detailed guide on how to set up a home theater. As I mentioned, the steps are simple; first, choose the right room and equipment, then hook everything up considering the standards we talked about, and you’re all set. I hope you’ve learnt how to hook up your home theater and spend the best quality time with your friends and family in the home theater you create.


